Top Signs Your Shower Cartridge Needs Replacement
The shower cartridge is a crucial component of your shower system, responsible for regulating water flow and temperature. Over time, wear and tear can compromise its functionality, leading to various issues that can disrupt your shower experience. Recognizing the signs that your shower cartridge needs replacement is essential for maintaining a comfortable and efficient bathroom environment. In this article, we will explore the top signs that indicate it’s time to replace your shower cartridge and provide you with valuable insights on how to address these issues effectively.
Understanding the Shower Cartridge
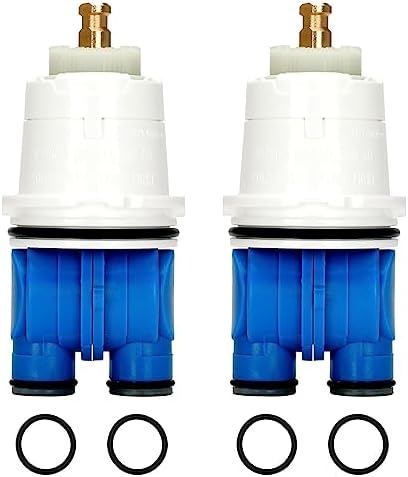
Before diving into the signs of a failing shower cartridge, it’s essential to understand what it is and how it works. The shower cartridge is typically located within the faucet assembly and controls the mixing of hot and cold water. It consists of various components, including seals, springs, and a stem, which work together to deliver the desired water temperature and flow.
There are several types of shower cartridges, including:
- Compression cartridges
- Ball cartridges
- Disc cartridges
Each type has its unique mechanism and common issues. Recognizing the signs of failure can help you determine whether a simple repair or a complete replacement is necessary.
Signs Your Shower Cartridge Needs Replacement
1. Inconsistent Water Temperature
One of the most common signs that your shower cartridge may be failing is inconsistent water temperature. If you find that the water temperature fluctuates dramatically while you’re showering, it could be due to a malfunctioning cartridge. This inconsistency can result from:
- Worn-out seals that fail to maintain pressure.
- Debris buildup within the cartridge.
- Corrosion affecting the internal mechanisms.
If you experience sudden temperature changes that make your shower uncomfortable, it’s time to investigate further.
2. Low Water Pressure

Low water pressure can be a frustrating issue, especially when trying to enjoy a relaxing shower. A failing shower cartridge can restrict water flow, leading to diminished pressure. Common causes include:
- Blockages caused by mineral deposits or sediment.
- Cracked or broken components within the cartridge.
- Improper installation or alignment.
If you notice a significant decrease in water pressure, it’s crucial to check the cartridge as it may be the primary culprit.
3. Leaks and Drips
Leaking faucets are not only annoying but can also lead to increased water bills and potential water damage. If water is dripping from the showerhead or faucet, it may be a sign that the shower cartridge is worn out. This can occur due to:
- Worn or damaged O-rings or seals.
- Corrosion that affects the cartridge’s integrity.
- Improper installation or wear from constant use.
To prevent further issues, addressing leaks promptly is essential. If you notice persistent dripping, it’s time to consider replacing the cartridge.
4. Noisy Operation

Unusual noises coming from your shower, such as whining, banging, or rattling sounds, can indicate a problem with the cartridge. These noises often arise from:
- Air trapped in the water lines.
- Loose components within the cartridge.
- Debris interfering with the cartridge’s operation.
Noisy showers can be disruptive, and while some issues can be resolved with adjustments, a failing cartridge may require replacement to eliminate the problem entirely.
5. Difficulty in Turning the Handle

If you experience resistance or difficulty when turning the shower handle, it’s a strong indication that the cartridge may be failing. This issue can stem from:
- Corrosion or mineral buildup within the cartridge.
- Worn-out internal components.
- Misalignment of the cartridge.
Difficulty in operation not only affects your shower experience but can lead to further damage if not addressed. If you notice this sign, consider examining the cartridge for wear or malfunction.
Case Studies: Real-Life Examples
To illustrate the importance of recognizing the signs of a failing shower cartridge, let’s explore a couple of real-life examples:
Case Study 1: The Homeowner’s Dilemma
Jane, a homeowner, began to notice that her shower water temperature fluctuated between hot and cold unexpectedly. Initially, she thought it was due to the water heater, but after consulting a plumber, it was determined that the shower cartridge was the issue. After replacing the cartridge, Jane found that her shower experience improved significantly, demonstrating the importance of proper diagnosis.
Case Study 2: The Cost of Neglect
In another instance, Tom ignored the dripping faucet in his shower, thinking it was a minor inconvenience. Over time, the leak led to mold growth and water damage in the surrounding area, resulting in costly repairs. Tom later learned that replacing the shower cartridge earlier could have prevented the extensive damage and saved him money in the long run.
Statistics on Shower Cartridge Issues
According to a study by the American Society of Plumbing Engineers:
- Approximately 10% of homes experience water leaks due to faulty fixtures, including shower cartridges.
- Household leaks can waste more than 10,000 gallons of water annually, with significant contributions from dripping faucets and showers.
These statistics underline the importance of timely maintenance and replacement of shower cartridges to avoid unnecessary waste and repair costs.
How to Replace Your Shower Cartridge
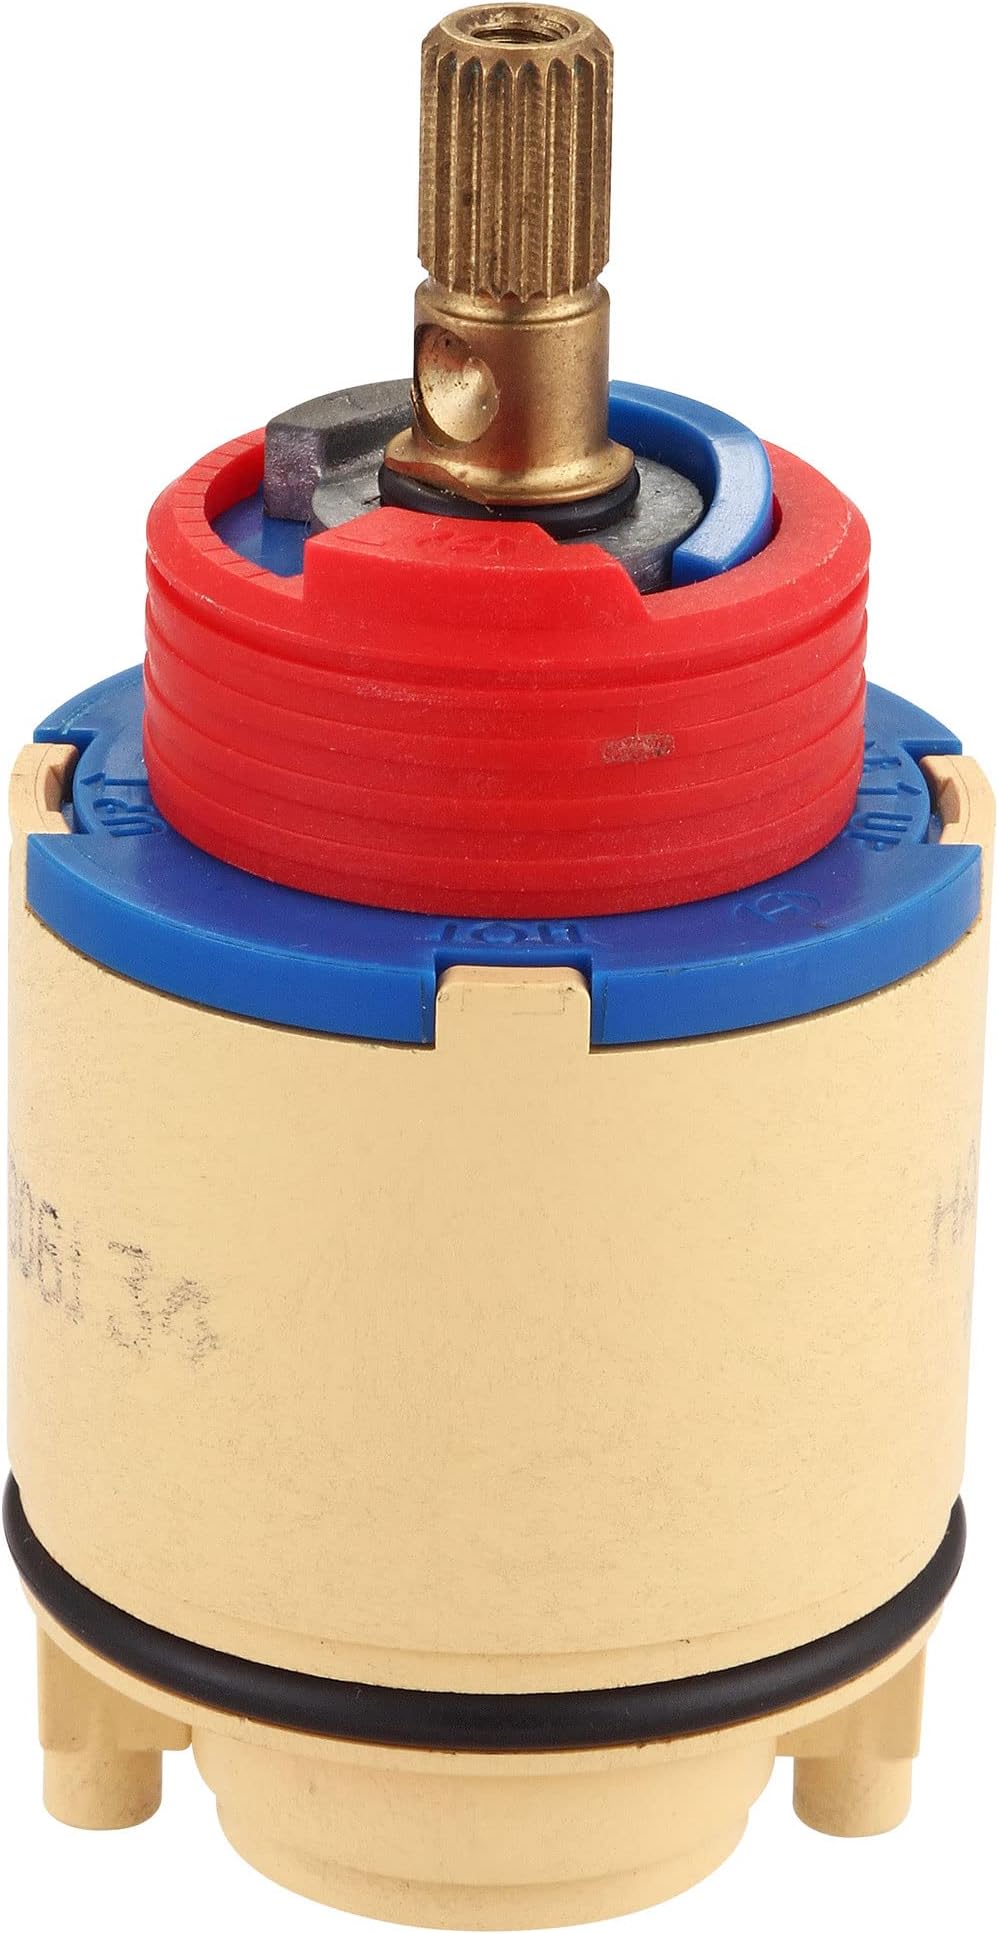
If you’ve determined that your shower cartridge needs replacement, here’s a step-by-step guide to help you through the process:
Materials Needed
- New shower cartridge (specific to your model)
- Screwdriver
- Pliers
- Towel or rag
Step-by-Step Process

- Turn Off the Water Supply: Locate the water shut-off valve and turn it off before starting the replacement process.
- Remove the Handle: Use a screwdriver to remove the handle from the faucet. You may need to pop off a decorative cap to access the screw.
- Take Out the Old Cartridge: Unscrew and pull out the old cartridge using pliers if necessary. Be careful not to damage surrounding components.
- Install the New Cartridge: Insert the new cartridge into the faucet assembly, ensuring it matches the orientation of the old one.
- Reattach the Handle: Secure the handle back in place and turn on the water supply to test for leaks.
Replacing a shower cartridge can be a straightforward task if you follow the proper steps and have the right materials. However, if you’re unsure, consulting a professional plumber is always a wise choice.
Recognizing the signs that your shower cartridge needs replacement is crucial for maintaining a comfortable and efficient shower experience. Inconsistent water temperature, low water pressure, leaks, noise, and difficulty in operation are all indicators that it may be time for a replacement. By addressing these issues promptly, you can avoid costly repairs and ensure your shower functions optimally.
Moreover, understanding how to replace a shower cartridge can empower you to take control of your home’s plumbing maintenance. Remember, regular checks and timely interventions can save you both time and money in the long run. If you experience any of the signs mentioned above, don’t hesitate to take action and restore your shower’s performance.